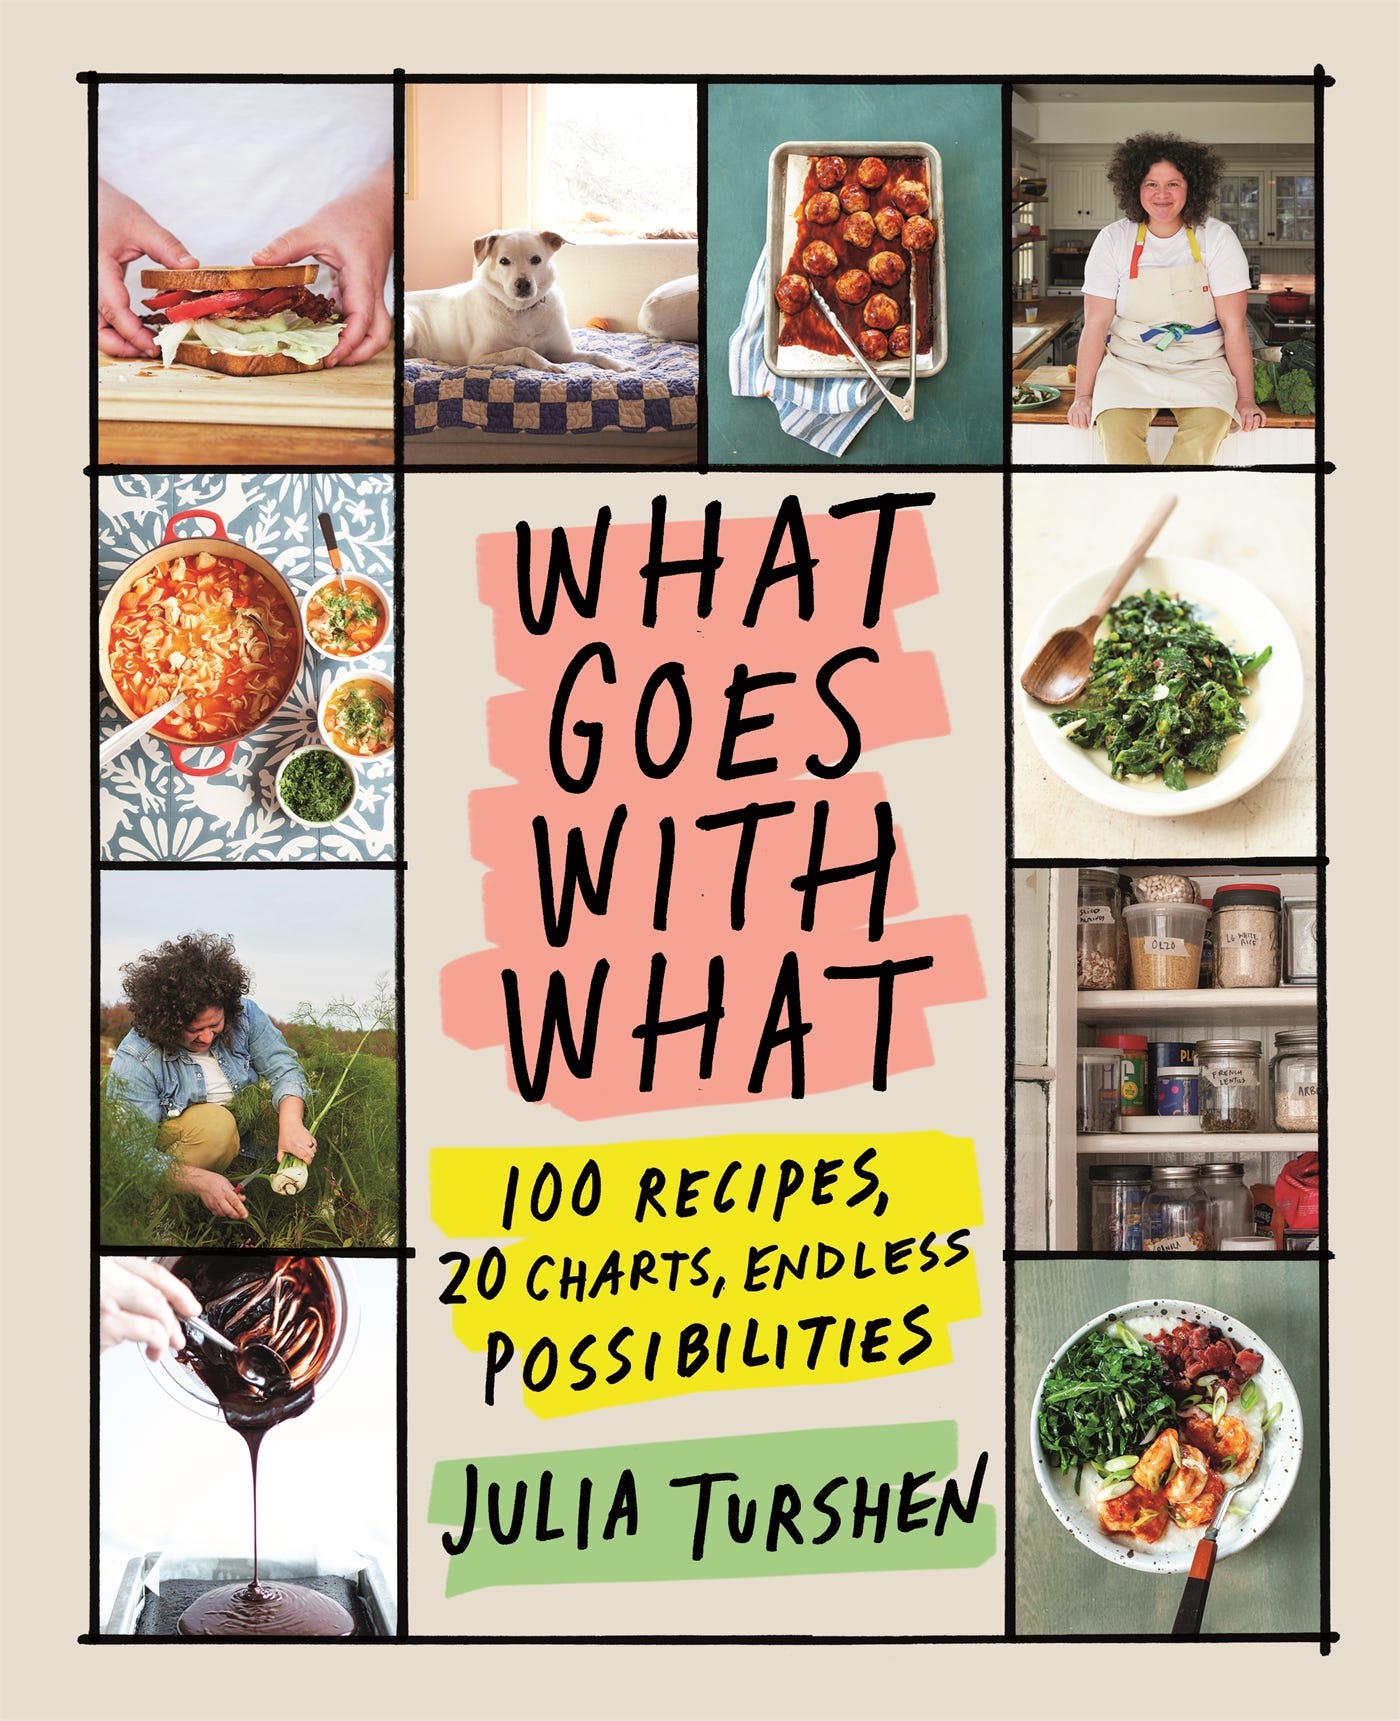
Hi all! A few weeks ago I told you about how my parents designed my new cookbook WHAT GOES WITH WHAT and what a joy it was to work together, and then I told you all about Haley who tested every single recipe in the book.
I love behind-the-scenes content of all kinds (behind the scenes of Below Deck! behind the scenes of the Guggenheim Museum!), so today I wanted to continue to take you behind the curtain and tell you all about making the photos in WGWW.
Prior to the photos, the book was a simply a Google Doc. Once all of the images emerged, the book started to feel ALIVE. Art really does bring words to life.
I have collaborated with many professional photographers, food stylists and prop stylists over the years on both my own books and other people’s cookbooks that I’ve worked on. This process is really exciting because you get to make beautiful things with people who are so passionate and knowledgeable about their craft. This process is also incredibly stressful and expensive because it means coordinating a bunch of people to make and capture a ton of recipes in as short a period of time as possible (because everyone deserves to be paid for their time and expertise so the faster you work, the less money you have to spend). And while more hands make less work, that also means the more people who need to be compensated (and the faster you work, the more recipes have to be made at once which is a big puzzle in and of itself).
In simple terms: a cookbook photo shoot typically means cooking multiple recipes a day for days on end and making sure each one looks the best it’s ever looked. And doing this efficiently. This is no small feat! It means figuring out the best order to make everything in, getting all of those ingredients, making the food itself, washing all of those pots and pans, choosing the perfect dishes and napkins for each shot, washing those dishes so very carefully because they’re probably precious and likely do not belong to you, timing things with whatever natural light is available, confronting mountains of leftovers, plus of course managing a team and a budget.
In even simpler terms: a cookbook photo shoot is…A LOT.
So for WHAT GOES WITH WHAT, I thought I’d try something new. I took nearly all of the photos myself. And I took the better part of a year to do this.
Let me back up a minute. When I started to work on WGWW, I set out to make a cookbook with the most ease (a.k.a. the least stress) as possible. Since WGWW was not my first rodeo, I thought it might be worth identifying the parts of making a cookbook that I found the most challenging and seeing if there were more options available than I had previously explored. One of the biggest challenges, for reasons you know already know, was producing a cookbook photo shoot. It was something I knew how to do (in fact, knew how to do pretty well), but it brought out the most stressed-out sides of my personality and I thought best to let those parts just take a nap.
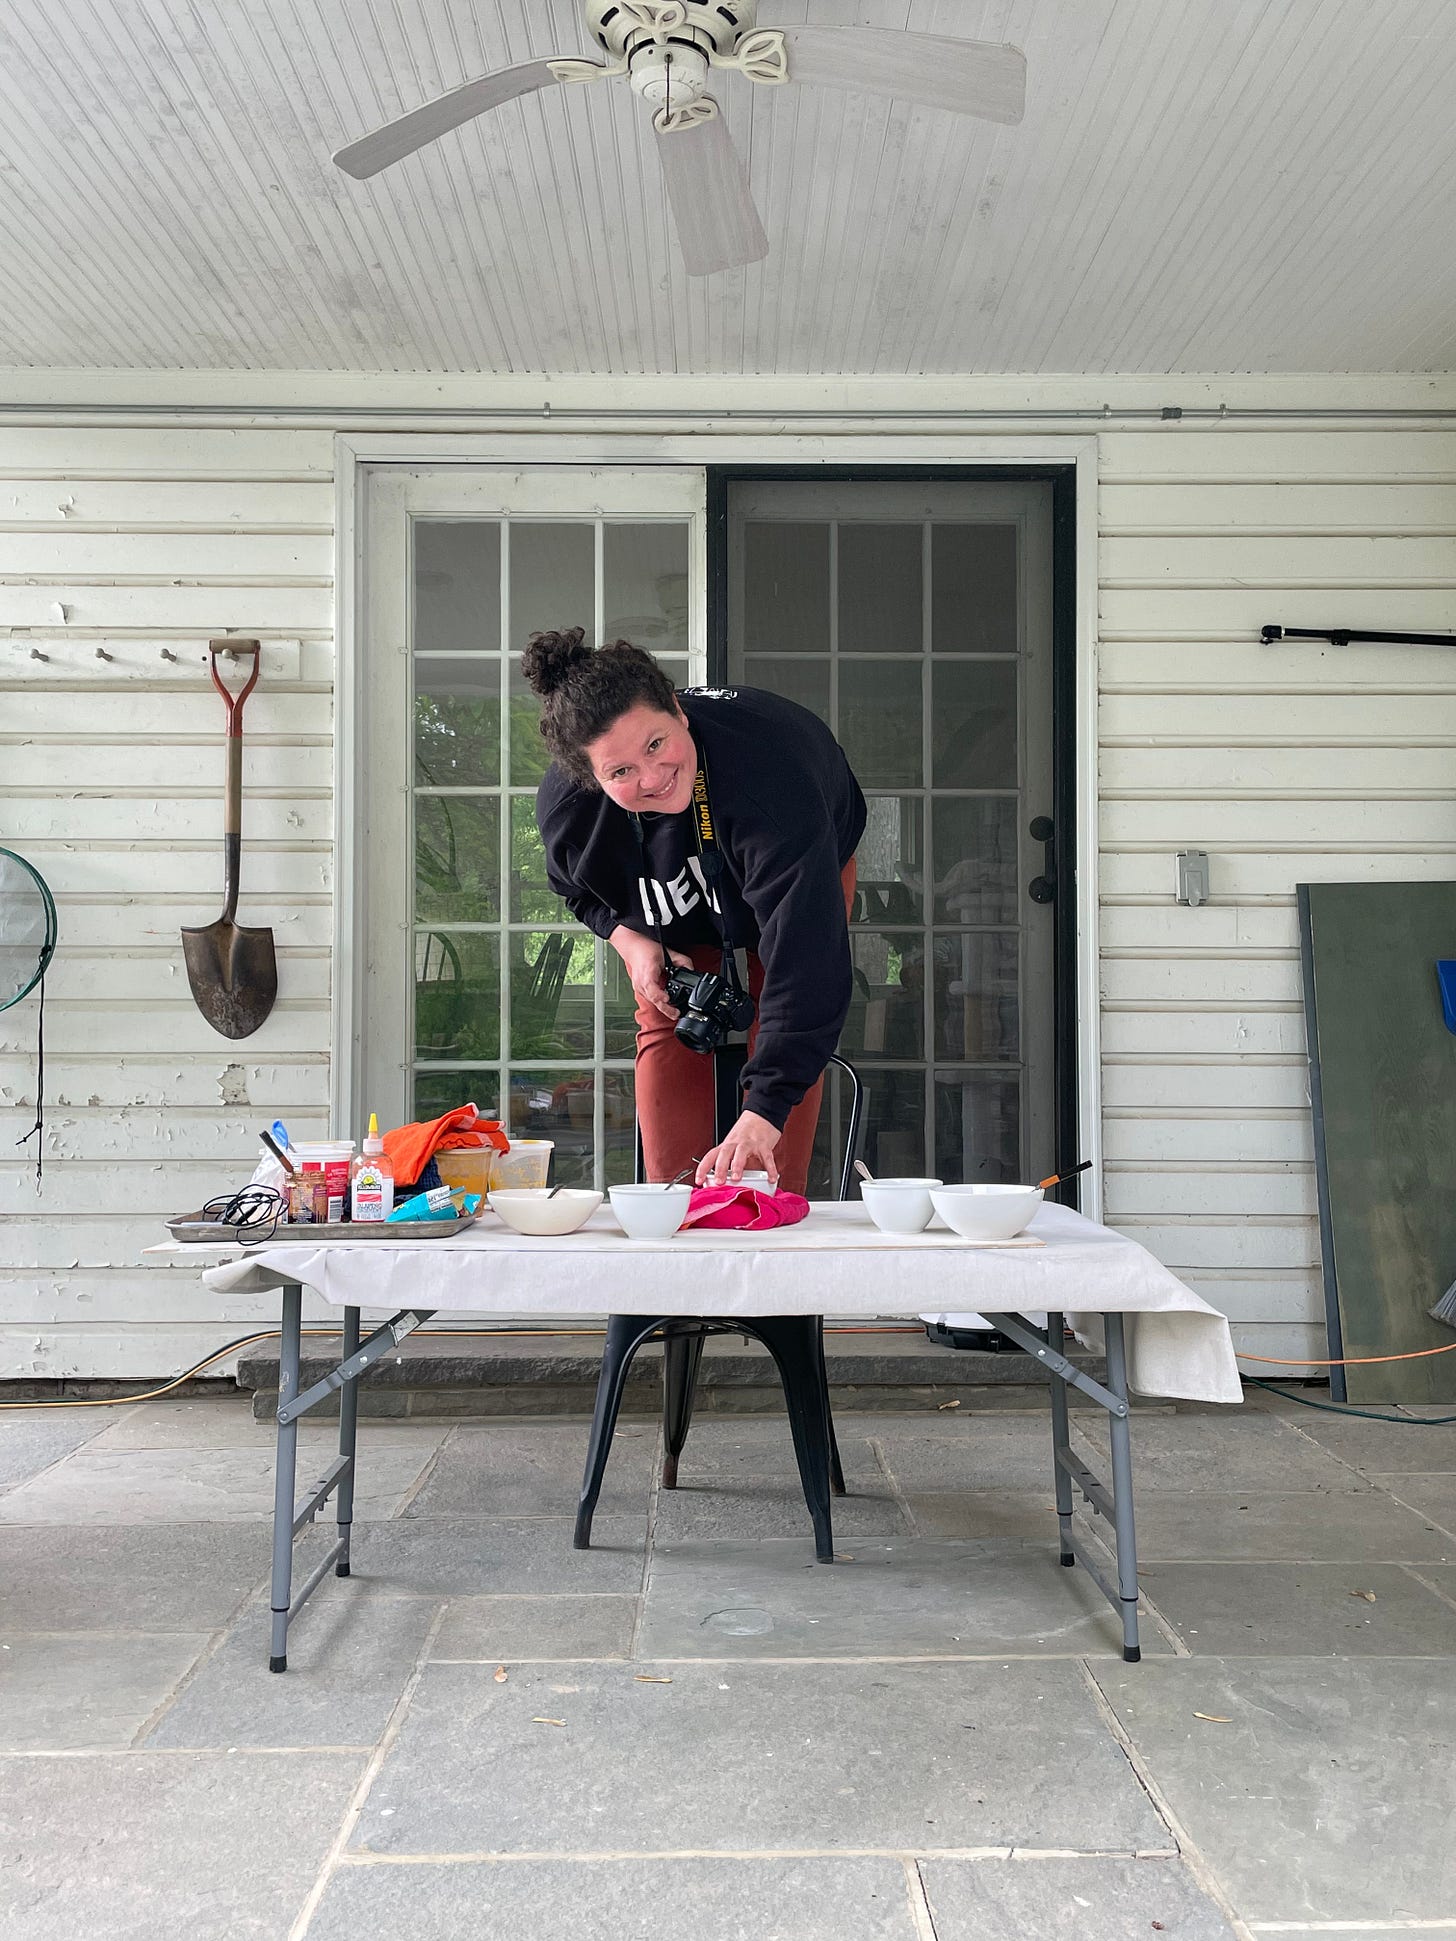
A little while before I started working on WGWW my father-in-law Chris gave my spouse Grace an old camera of his so Grace could use it to photograph birds (Grace loves birds). I asked if I could borrow it and started fooling around with figuring out how to take simple, light-filled photos. I watched a lot of YouTube videos. I tried not to overthink things. I ordered some new lenses to try and ended up returning them and embracing the straightforwardness of a 35mm. I figured out how to save the photos with the required resolution and made many Dropbox folders to save them all in.
From having previously had my cookbooks photographed in my home, I already knew the spots where the light was best. I went to the hardware store and bought thin sheets of plywood and various paint samples to make different backgrounds I could switch in and out (to vary whatever was underneath the dish or bowl I was photographing). I had fun with this and even tried adding texture to the backgrounds by doing things like dabbing the wet paint with a scrunched up piece of newspaper before it dried, or slightly sanding the painted surface after it dried so it didn’t look so new. In other words, I got to play and be creative.
Here’s what my process looked like: I would write a recipe, test it, tweak it as needed, take it to my little table and snap a photo. I’d immediately load that photo onto my computer, make sure it was at least somewhat in focus, add it to my folder, and that was…it. I could do one recipe a day. I could skip a day or a week or even a month if I needed to. I could assemble the photos as I assembled the recipes. I could take as much time as I needed. I could re-shoot things whenever I felt like it. If I decided something would be better from a different angle, I could skip bemoaning that and just do it again.
Most importantly, I could make my lifelong dream come true and include a PHOTOGRAPH OF EVERY SINGLE RECIPE IN THE BOOK. I could do this because it didn’t require anyone’s time except for mine.
This might sound funny, but I’m proud of how simple the photos are. I didn’t rent or buy any props for these photos — I just used the things Grace and I use all of the time in our home, the stuff that is meaningful to us. I didn’t set up elaborate tables for fake gatherings. I didn’t use any tweezers to place anything or any food stylist tricks of the trade. I simply made the food just how I described in the recipes and put it on whatever plate I would normally put it on. I hope this all helps you feel like the book truly comes from me to you, from my kitchen to yours, because it truly does.
Actually there’s another “most importantly” and that’s that I really enjoyed taking these photos. I felt ease. I had fun. I enjoyed the process which is always my hope for everything I work on and my hope for all of you and your professional endeavors.
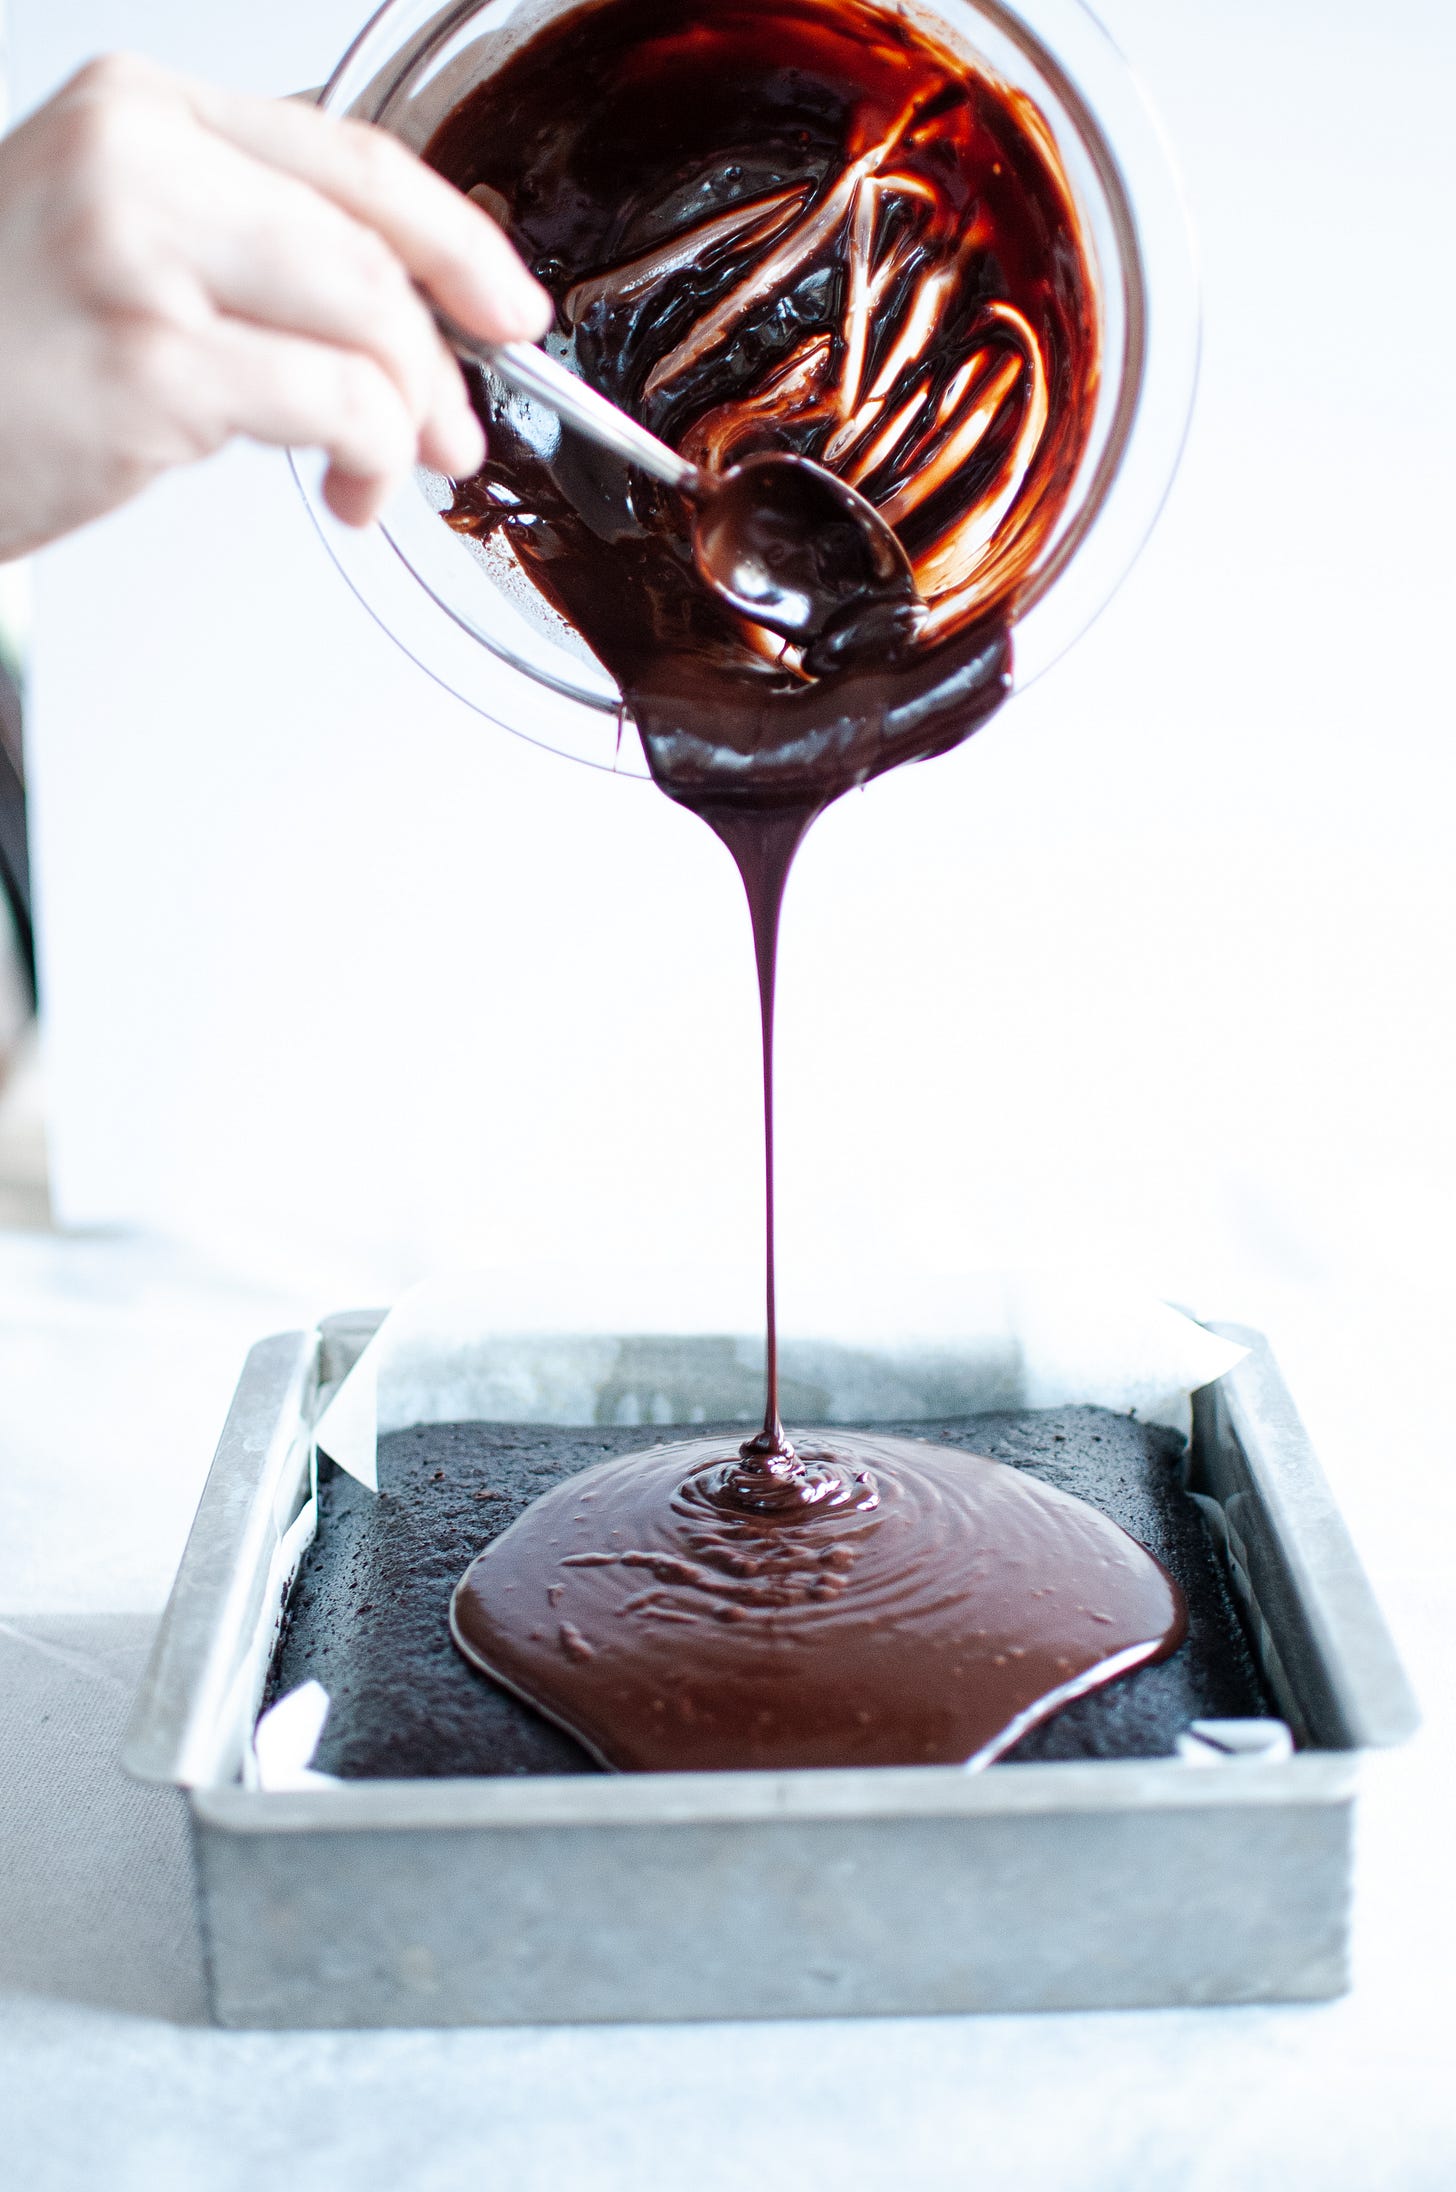
Here are a few of my favorite photos from the book:
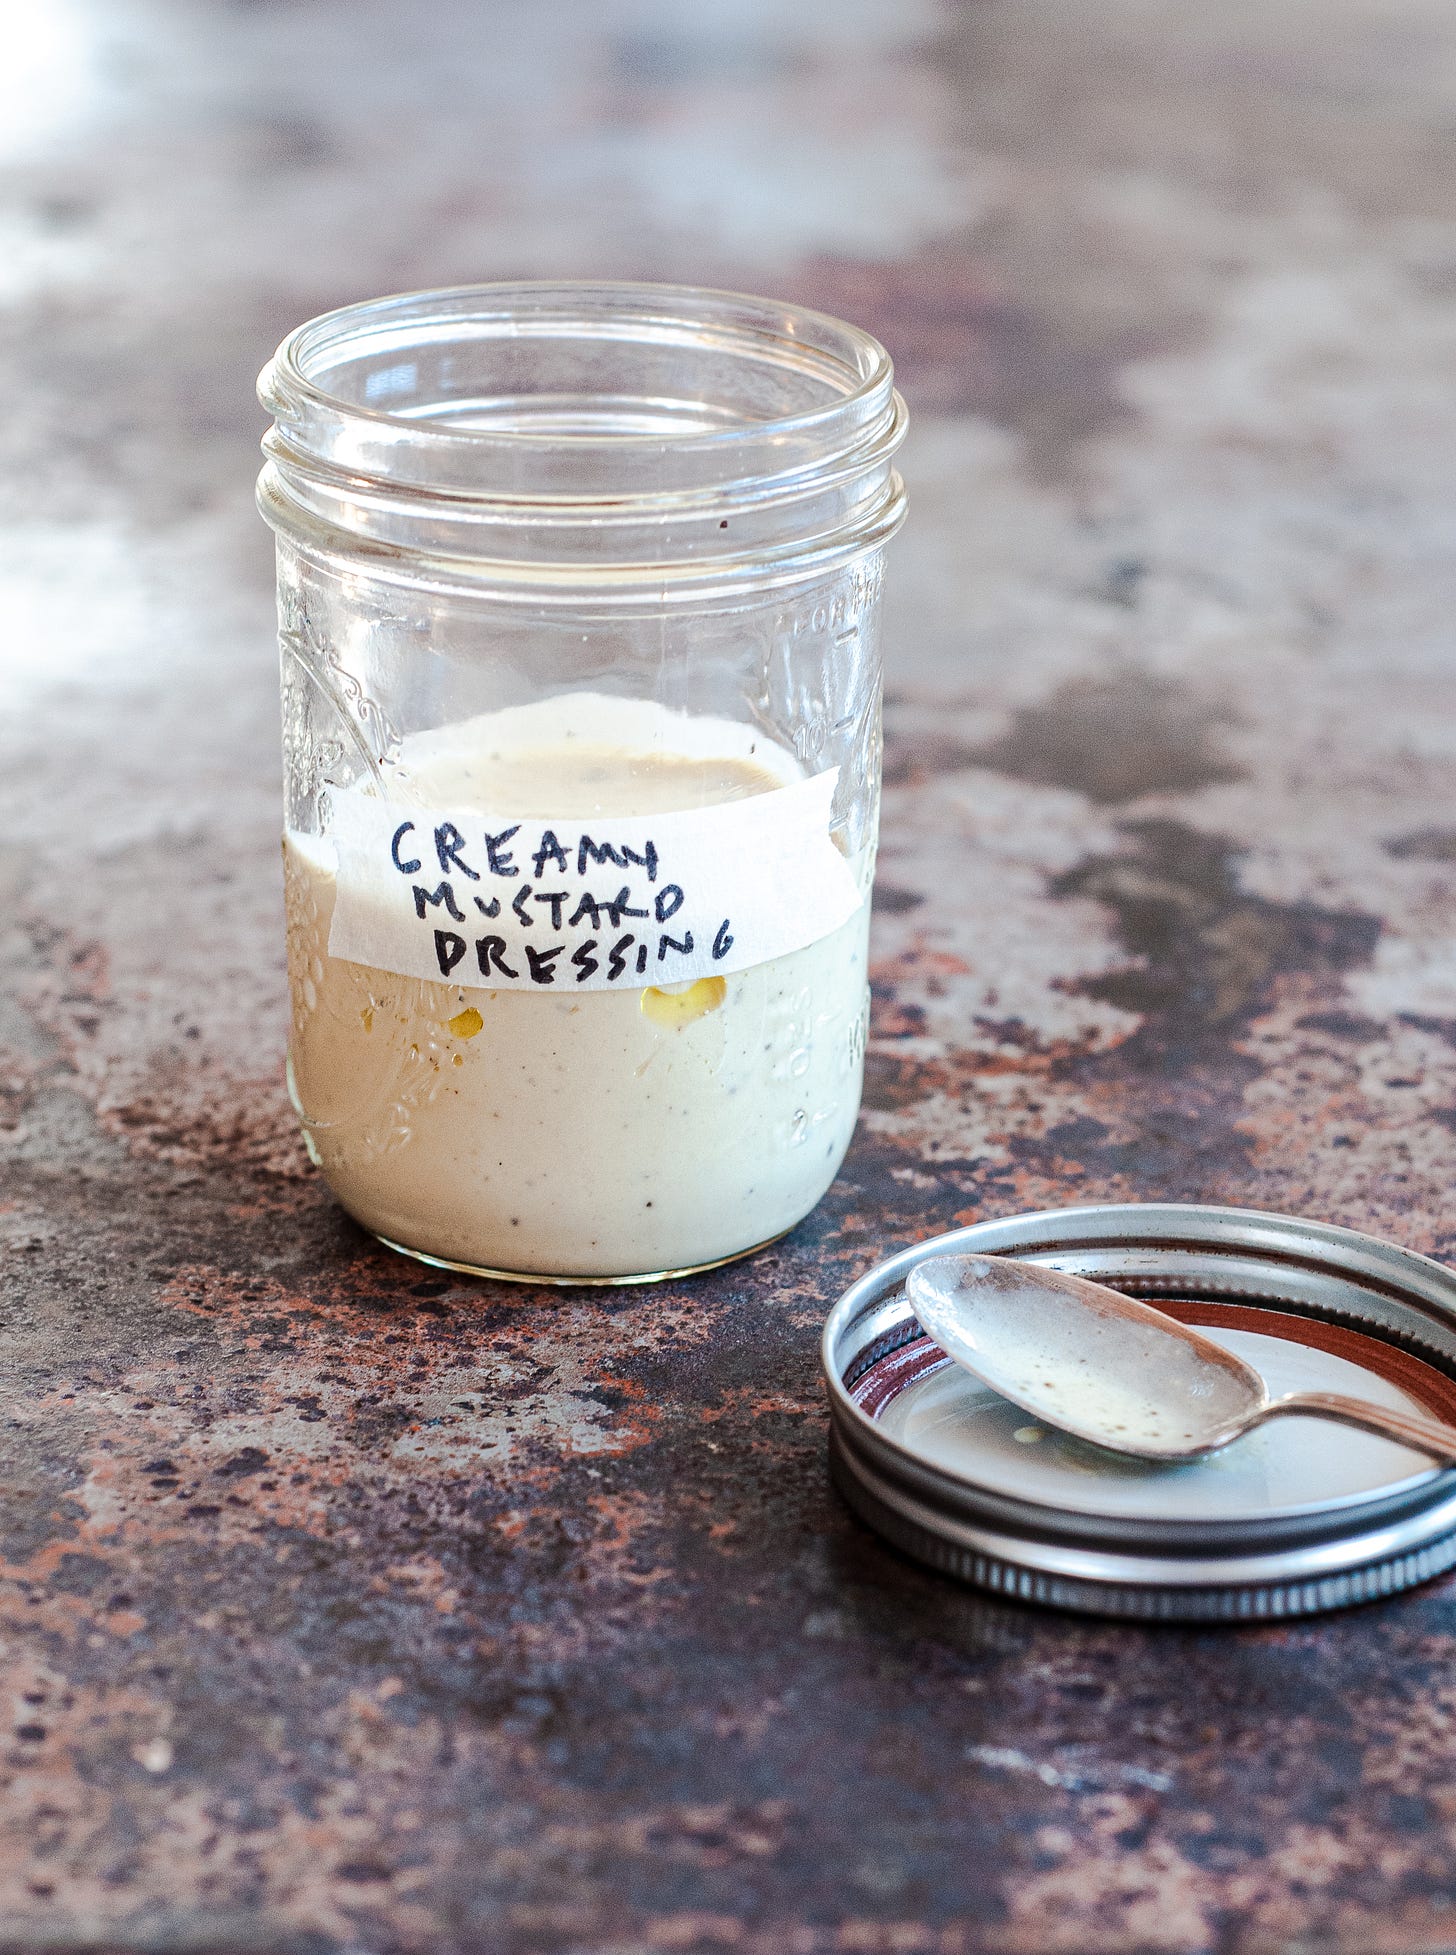
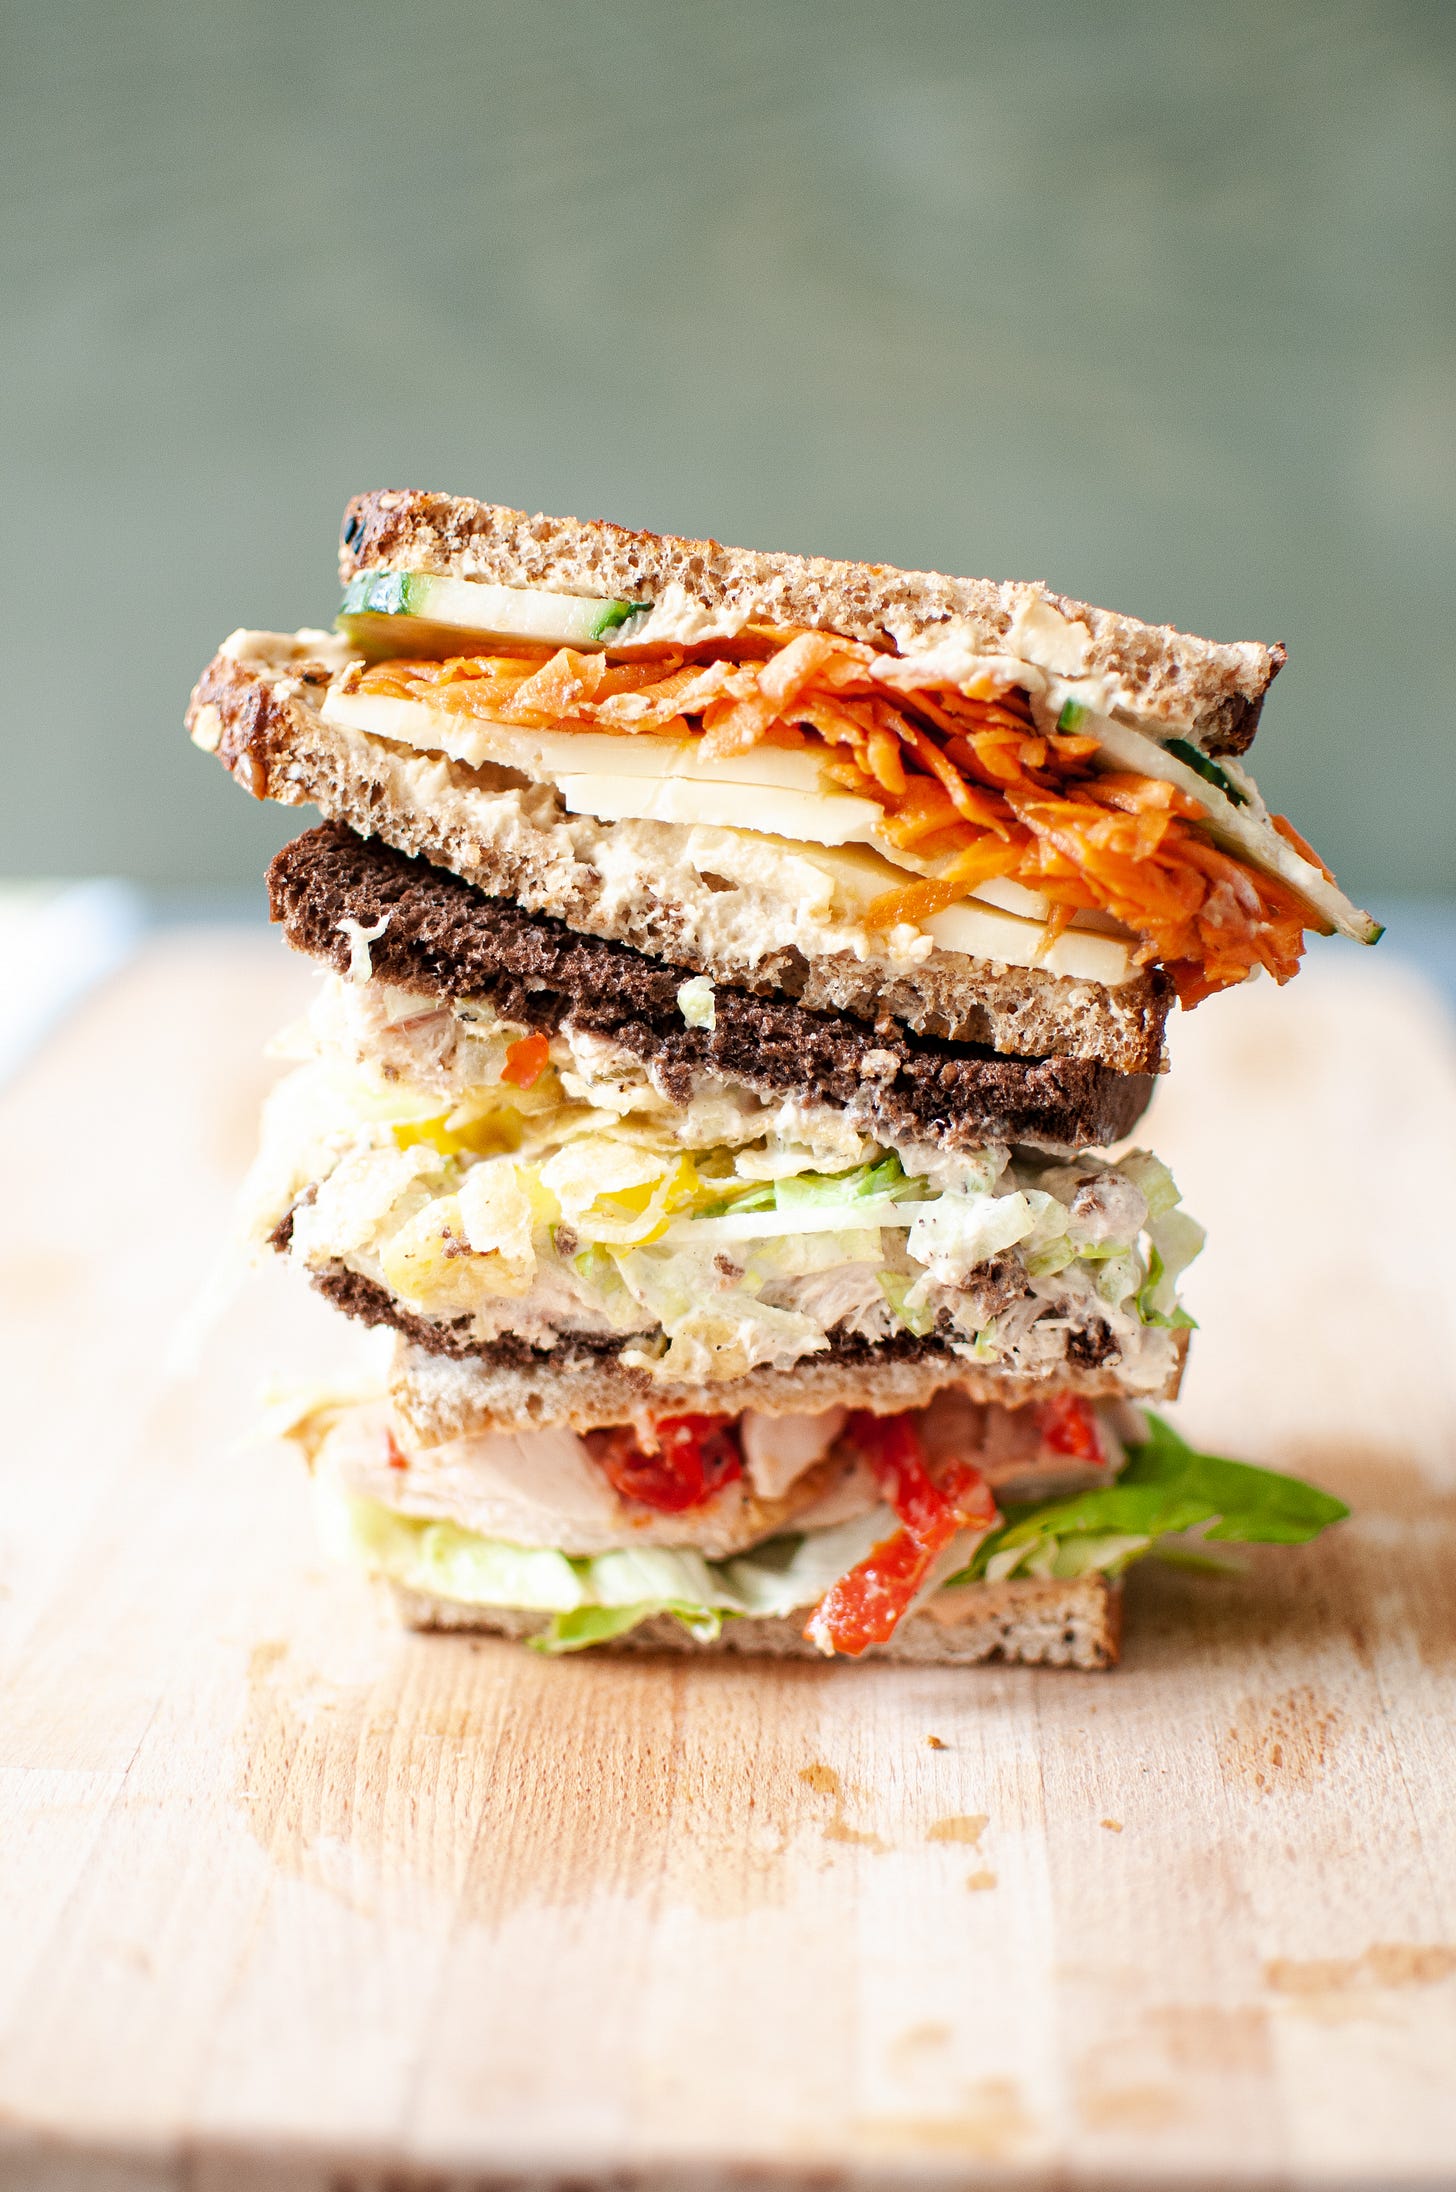
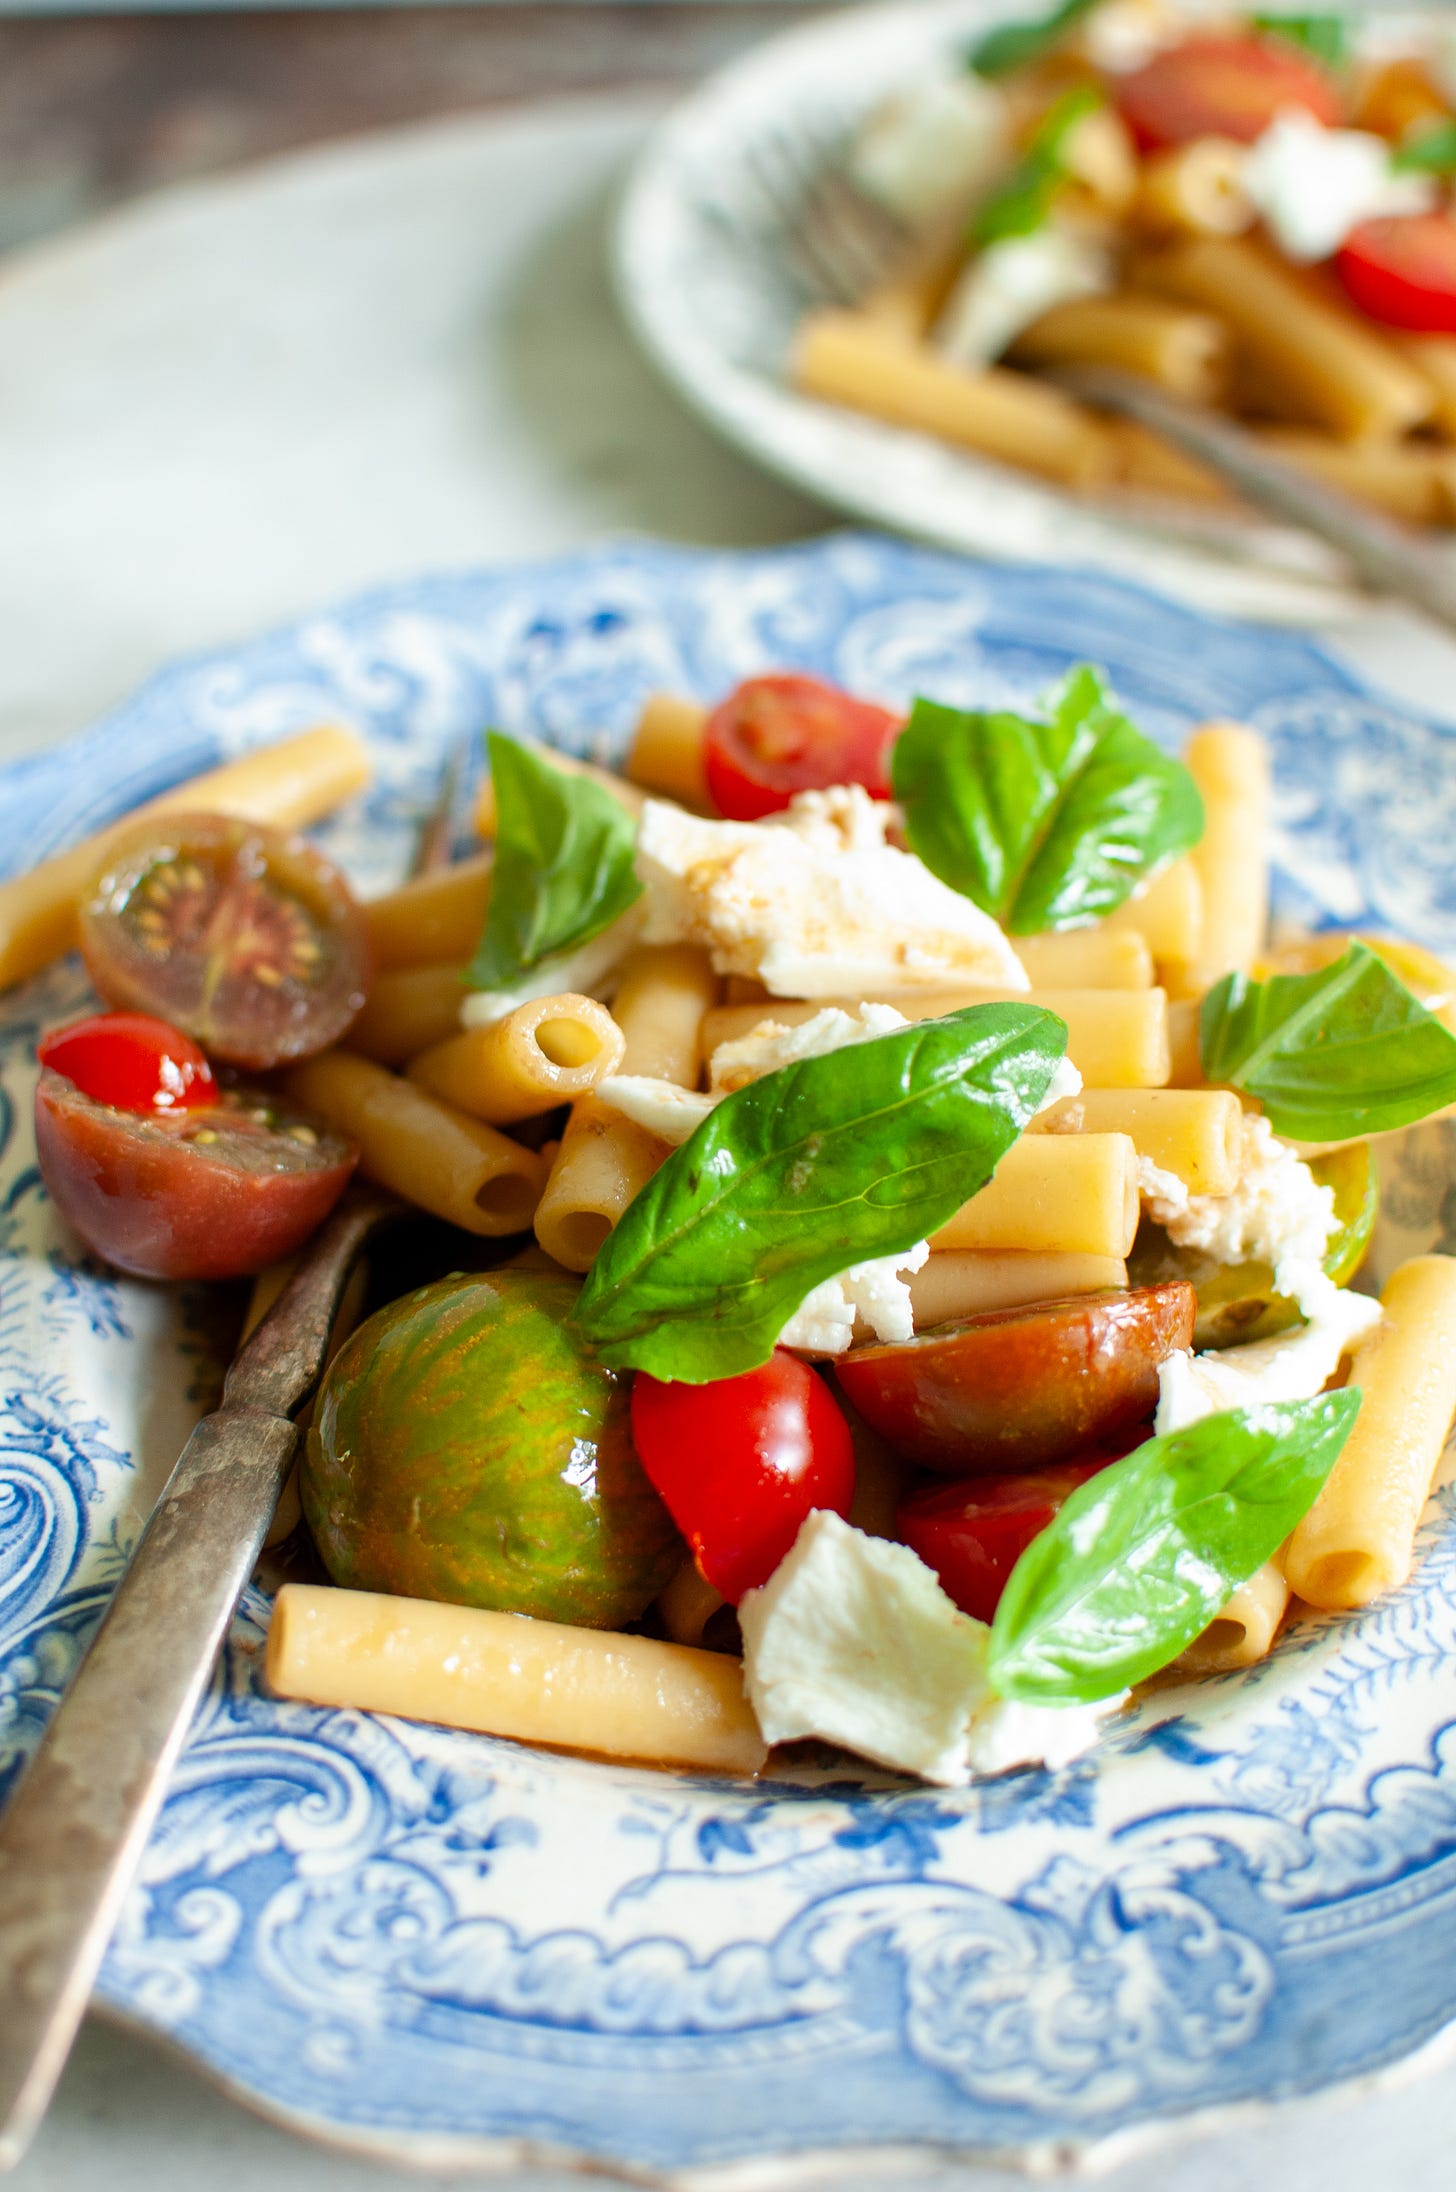
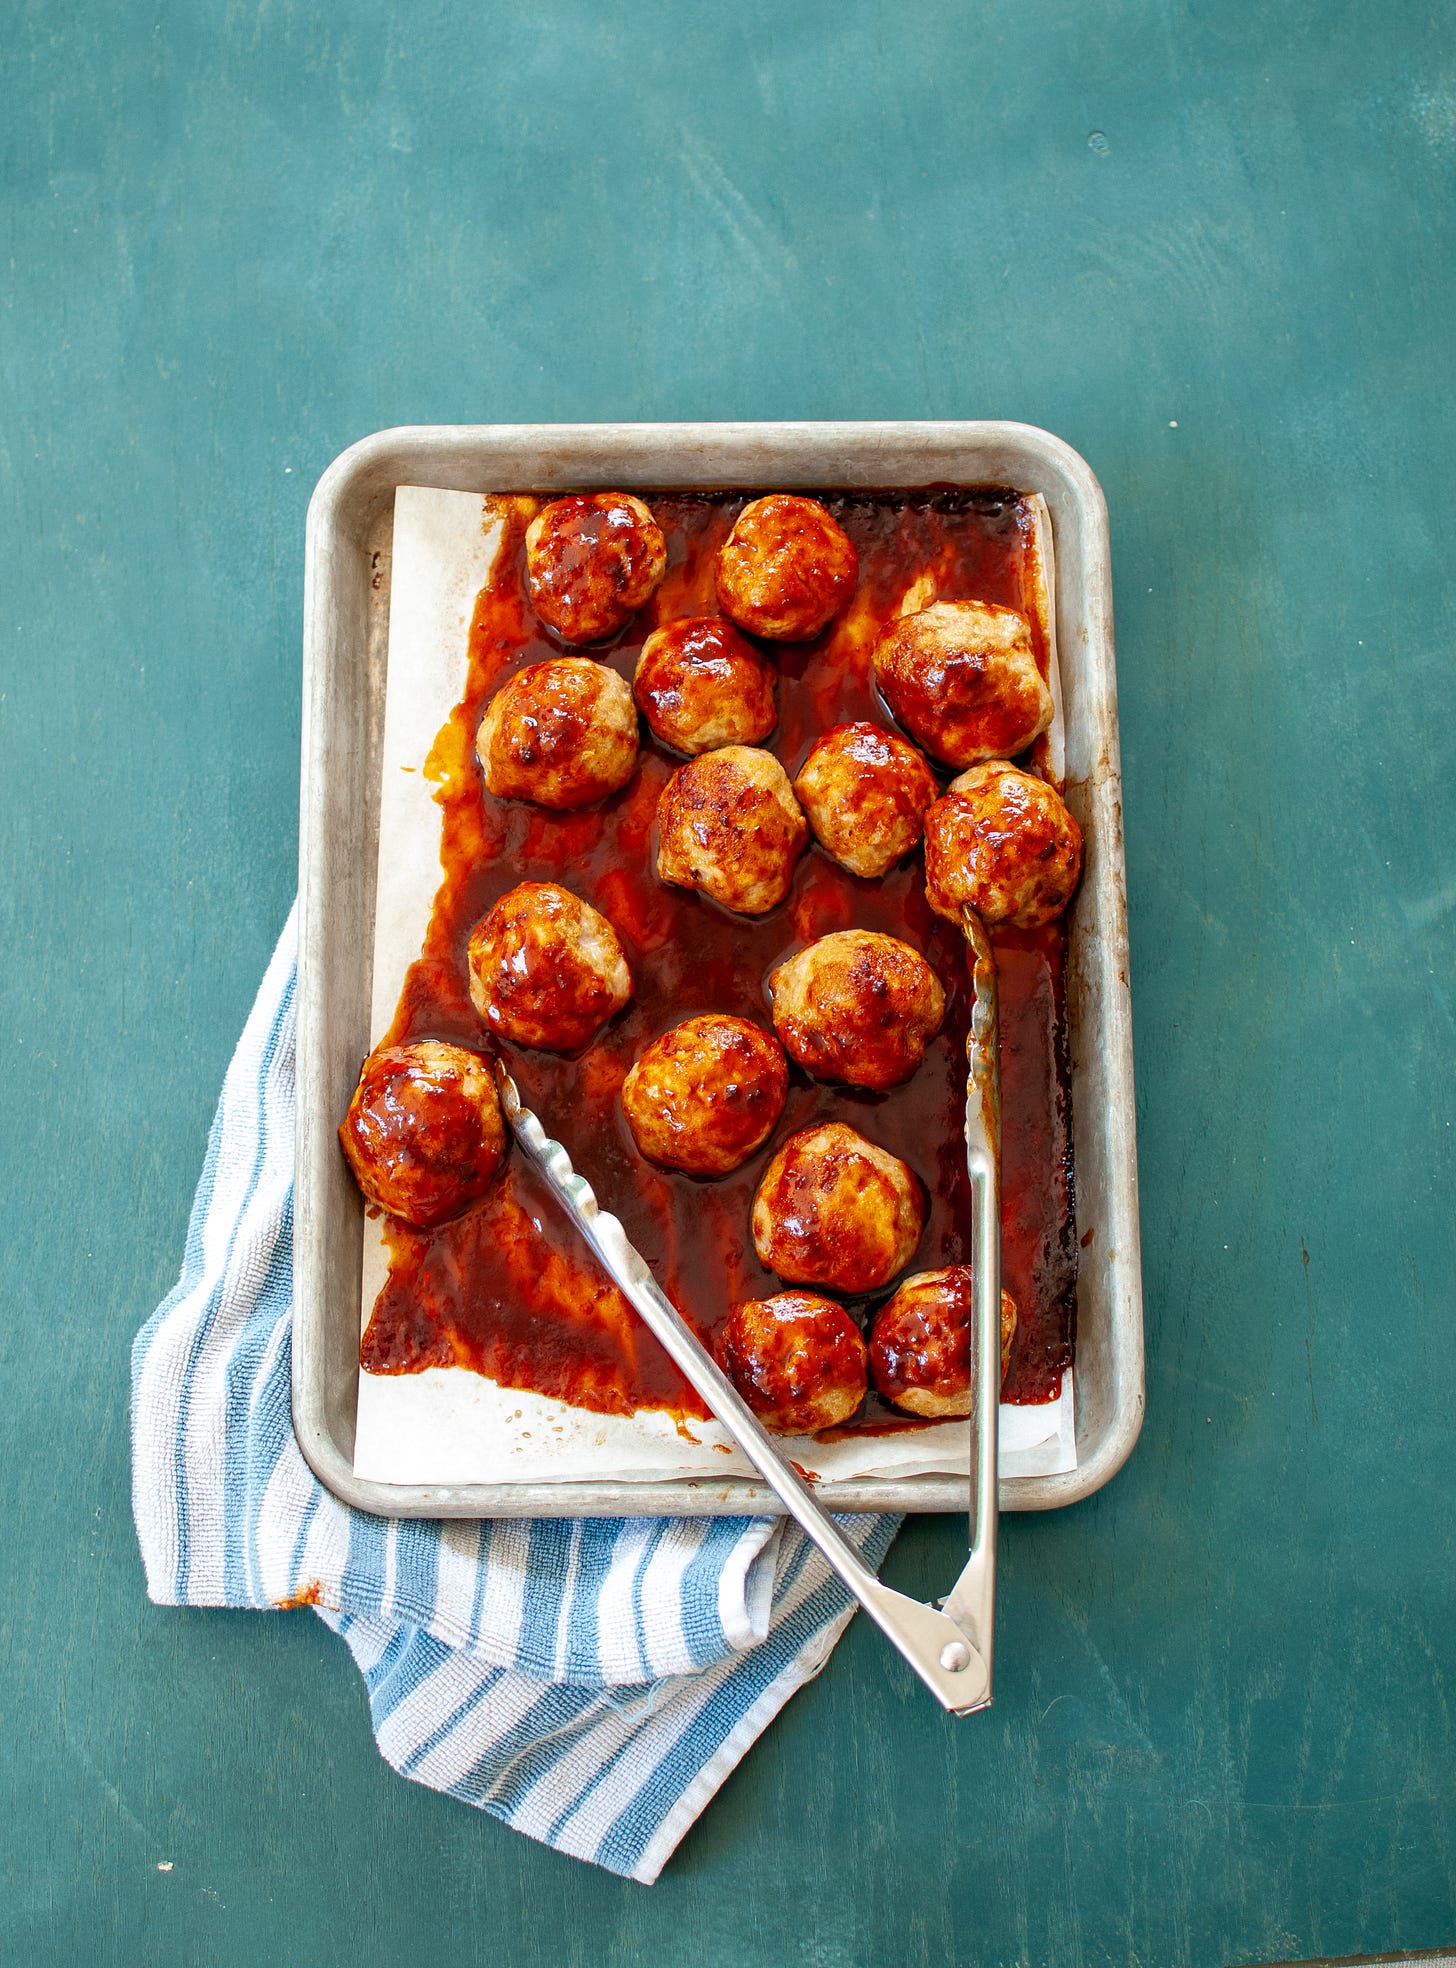
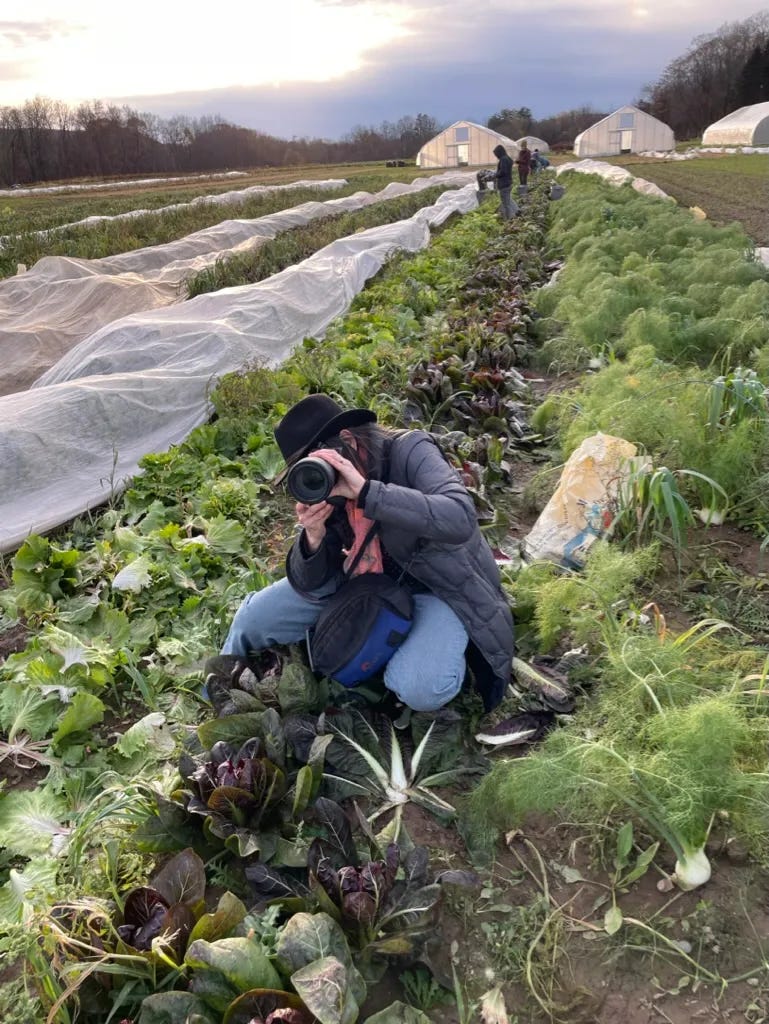
I didn’t take *every single* photo in the book though! I spent a day with the gifted, lovely Natalie Chitwood who I hired to take all the photos I couldn’t manage myself, namely photos of…me. We spent the morning at my house taking some photos in the kitchen (and some really special photos of me with Grace, our pets and my mom!) and the afternoon at Long Season Farm (a.k.a. my happy place). Here is Nat crouching over some harvested radicchio plants to get “the shot.”
And here is “the shot!” Me harvesting fennel! This is actually something I do often, but my clothes are usually not this clean…
We’re just about a month away from WGWW being out in the world! I am so excited for you all to have it and am just grateful to have this space to tell you all about making it. I have loved making cookbooks for my entire adult life but have never had the chance to feel this close to the people who support my work. Thanks for being here friends. It really means a lot and I’m very thankful. xoxooxox
If you haven’t pre-ordered your copy yet, you can find all of that info right here!!! Pre-ordering means a lot to authors like me to ensure the success of the book. Remember if you want a signed/personalized copy, you can get those via my local bookstore Oblong Books. Also if you pre-order from them you’re going to get a special something from me and my mom…stay tuned for more on that!




What a treat to go behind the scenes and learn about your process this way! Can’t wait for my copy to arrive! Your photos are gorgeous and knowing the story behind them makes it even better.
This is AMAZING. Looking through the book, I actually thought, "this looks different, what did she do here?" Because it feels so much more natural and real than most books—and it's because it actually is! So kudos to you for figuring out how to make this work (and financially too!). Was it hard to sell your publisher on this though??