Note that this post exceeds the email limit, so best to open in up in your browser so you can see/read the whole thing!!!!
I spent this past weekend (Friday afternoon through Sunday morning) on a camping trip with the Body Liberation Hiking Club, the hiking group I am so grateful to be a part of. If you want to see more of our trip head here + here!
I thought it’d be fun to share what I ate + brought with me since (a) I love knowing what other people pack for camping trips and (b) thought some of the below might be helpful whether you’re camping or going on a long road trip, or maybe staying at a rental house or anything else where you’re away from your home kitchen but want to be well-fed + prepared without having to take the kitchen sink with you…
SNACKS:
I brought lots of things that were easy to transport + didn’t require any room in my cooler. Nothing groundbreaking here, but a good reminder that you don’t need to reinvent the wheel….
apples + bananas
potato chips
Jiffy Pop!!
cookies
trail mix
BREAKFAST:
Saturday morning a group of us had bacon + eggs together for a late breakfast, but I was up a bit earlier and hungry, so I ate one of the peanut butter-banana-honey sandwiches I brought from home. Pro tip: I heated it up in a cast iron skillet so the outside got a little crisp and the peanut butter got warm and WOW did this make a difference on a cold + rainy morning!!
Sunday morning I had oatmeal (I brought one of these cups so all I had to do was add hot water) and I added some sliced banana + trail mix to it to make it a bit more substantial.
COFFEE:
This might be the most useful tip!! I filled a Ziploc bag with Cometeer coffee capsules which are these small, frozen capsules of very concentrated coffee that you defrost and either mix with ice + water and/or milk for iced coffee, or just hot water for a great cup of hot coffee. The packaging is completely recyclable (after you use them, you’re left with empty aluminum cups/lids —there are no coffee grounds like pods have which you often have to mail back). I also like that they work with a lot of independent coffee companies like Red Bay (one of my favorite coffee companies). If you use this link, it looks like you can get $25 off your first order if you want to try them. This is not sponsored (any customer gets a referral link)— I just really think this is the easiest, most relaxed way to enjoy good coffee while camping. All I did was combine the contents of a capsule with some boiling water that I boiled on my camp stove in my thermos and that was that. No dealing with coffee grounds or bringing extra equipment. I’ve taken these with me camping in warmer weather, too, and it was awesome to have iced coffee in the morning!
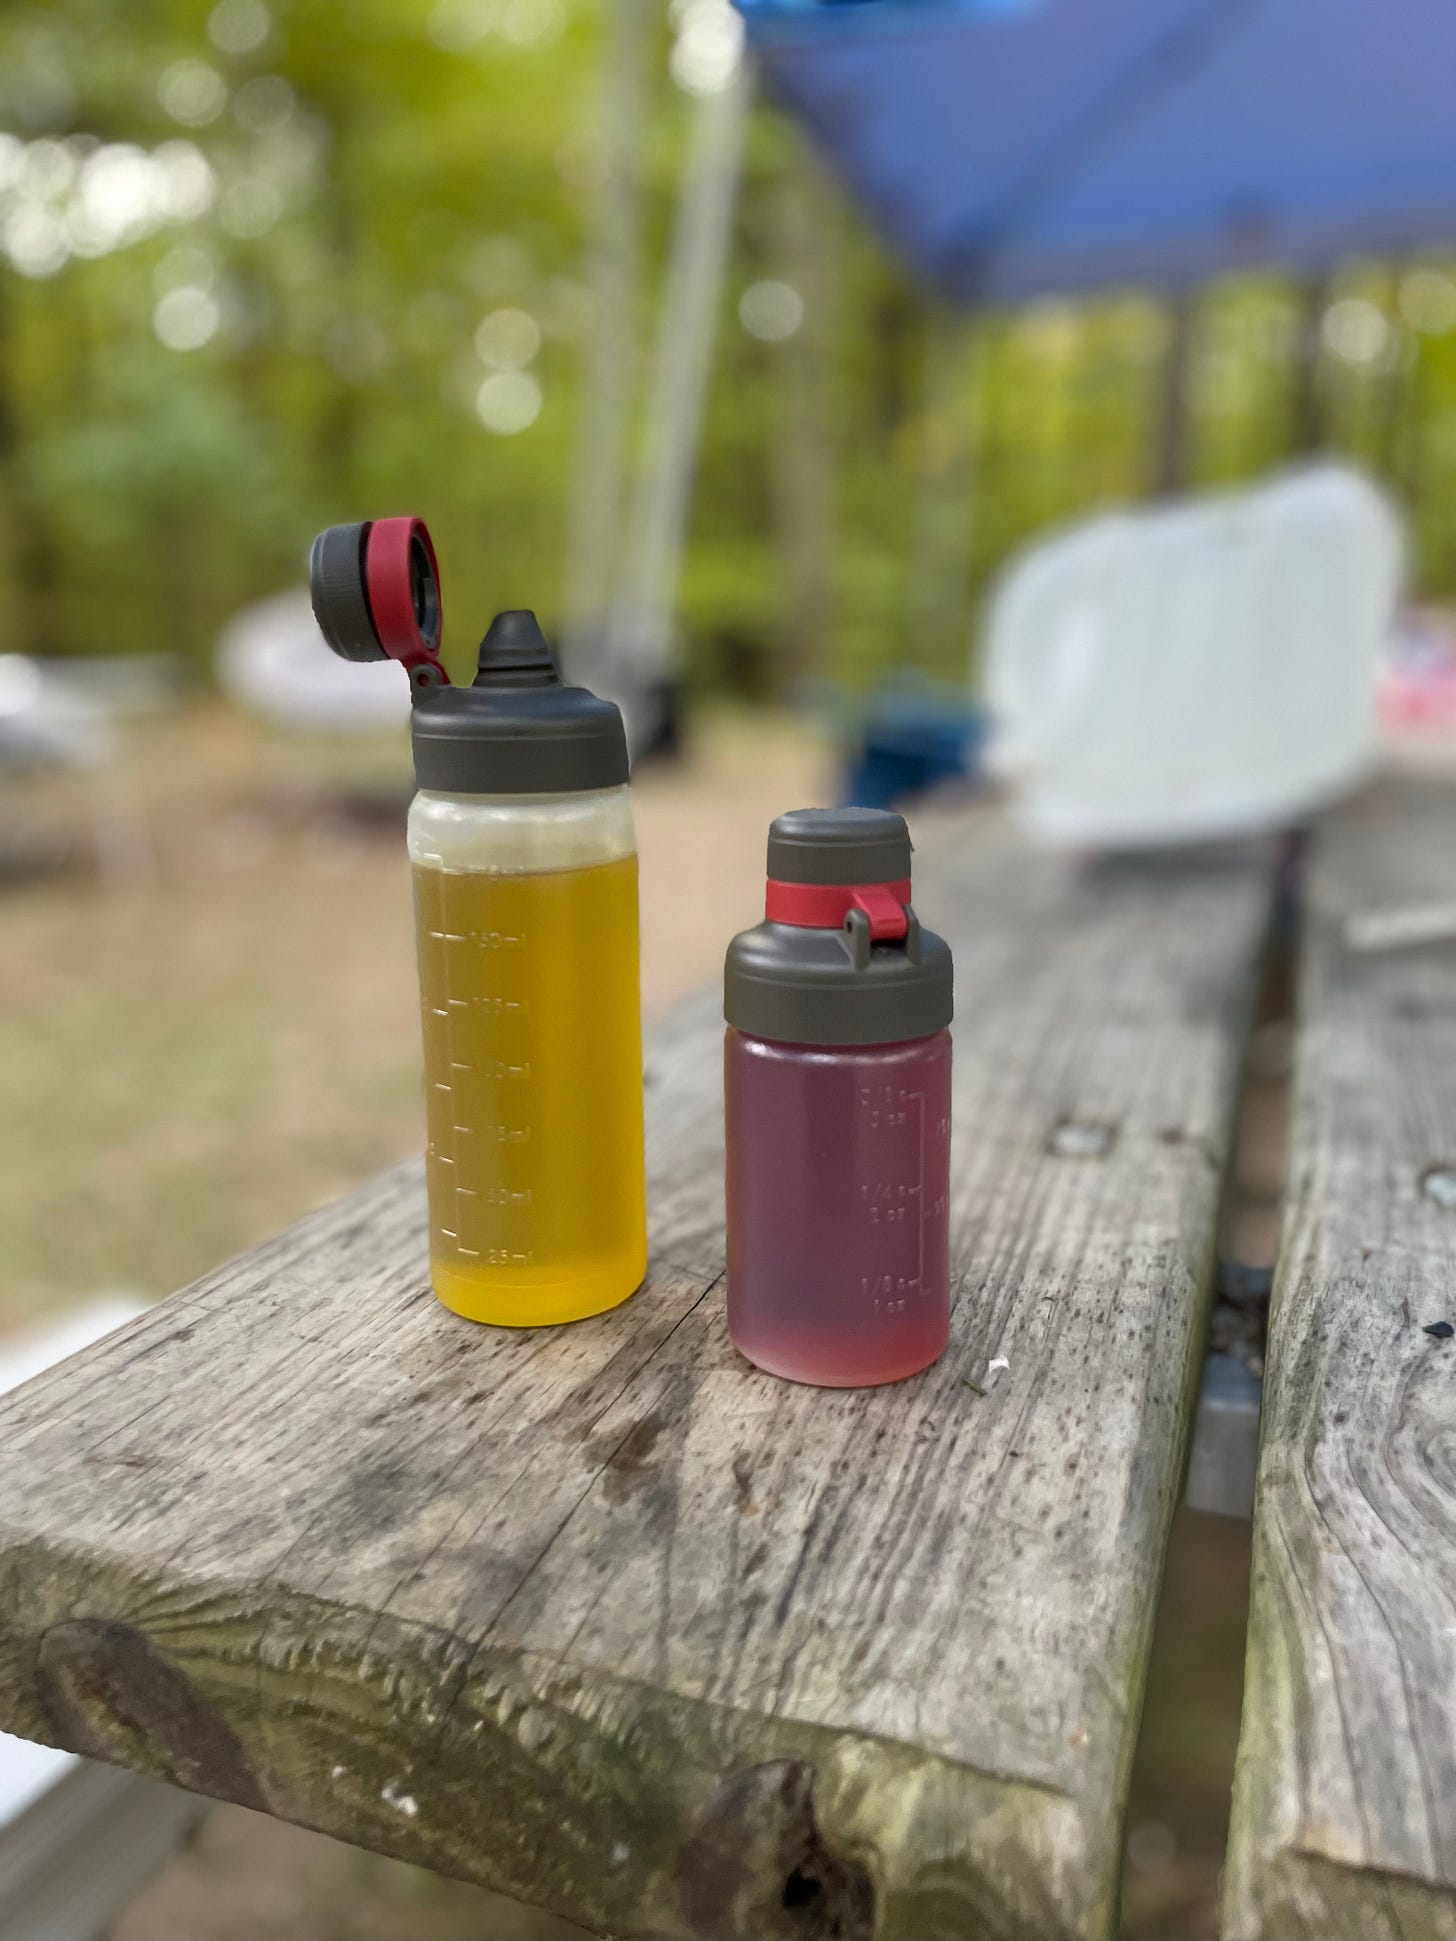
One more pro tip if you like half-and-half or any other type of creamer in your coffee. Instead of bringing a big box, I just filled up a small water bottle with enough half-and-half for two mornings and stuck this in my cooler. It took up way less space this way and I also wasn’t worried about the cardboard box getting soggy in melted ice.
OTHER DRINKS:
For just general water consumption/brushing my teeth/water for coffee/etc., I filled my (very adorable) 2 gallon ‘Barrel of Fun’ beverage cooler from Igloo with water. I got mine on sale at Target last year and use it not just for camping, but also when I filled in at the farm this summer and wanted to have ice water waiting for me in the shade. I love this thing since it allows me to skip buying big plastic containers of water each time I go camping or whatever. Fun fact: it doubles as a stool to sit on!
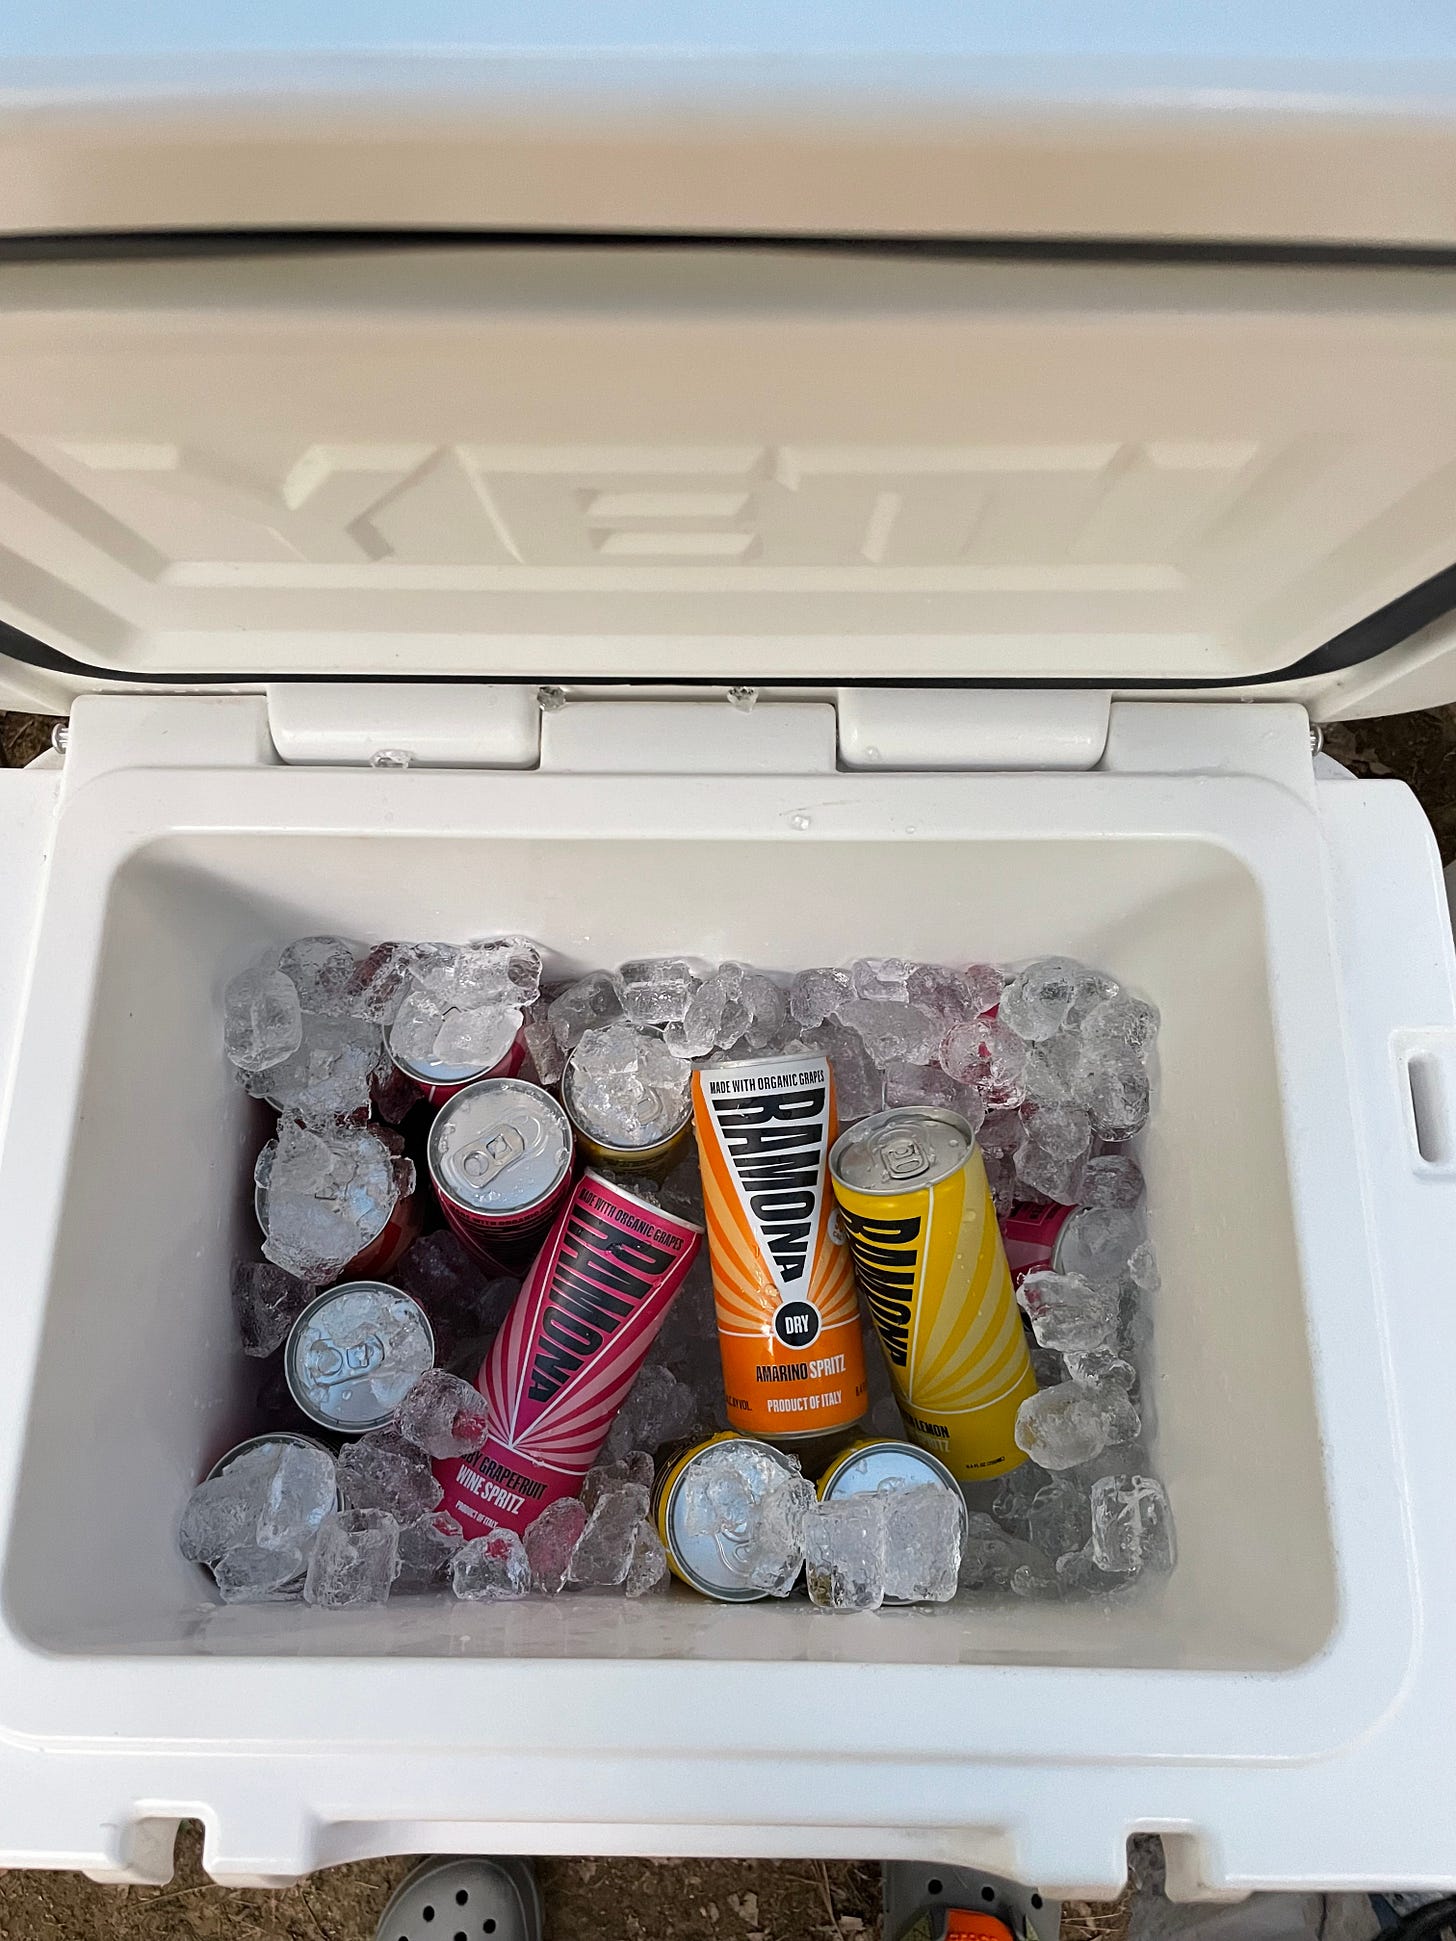
I also filled another cooler with ice + lots of RAMONA wine spritzes (my favorite is the dry sparkling rosé — it’s the least sweet one). Thanks RAMONA for sending me so many to share with everyone!
LUNCH + DINNER:
Friday night I picked up pizza for a bunch of us and, well, it made it so easy to not have to prepare anything when everyone was arriving after work and setting up tents, etc. Reminder: you don’t need to be a hero!
For Saturday lunch, some of us had leftover pizza warmed up on tinfoil on the campfire— easy peasy.
Saturday night dinner was our big group potluck and it was all so delicious. We had a taco theme. I made a batch of beans + chicken tinga in my Instant Pot [CHICKEN TINGA RECIPE IS AT THE BOTTOM OF THIS POST FOR PAID SUBSCRIBERS!! / I’ll also be doing chicken tinga on Sunday October 23rd in my online cooking class— check it out here!]
I brought the beans + chicken with me in Ziploc bags in my cooler. We reheated the chicken in a disposable tin foil tray on the campfire and reheated the beans in Alexa’s big cast iron pan (the same one we did the bacon in that morning and yes we saved the bacon fat!!!).
Everyone pitched in with so much good stuff and we had a true, wonderful feast. The other potluck components that everyone else brought included:
grilled hot dogs + sausages + sliced beef short ribs
tortillas
Frankie’s guacamole!
taco toppings: homemade pickled red onions from Emily, shredded lettuce, shredded cabbage, crema, limes, chopped onions + cilantro + jalapeños, a variety of hot sauces
grilled corn, elotes-style from Deirdre
cut-up mangos + apples with lime juice + Tajín from Diane
Sharon also brought a pot of spicy vegetable + black bean soup that we all had while finishing everything else and it was SO good.
DESSERT:
Of course we had s’mores fixings. But we also had what is possibly the most delicious dessert I’ve ever had: honeybears. Kate introduced these to all of us at our last camping trip in the spring and I have been talking about them nonstop to my friends + family ever since. To make them, you put a Kings Hawaiian roll (or any other similar soft brown-and-serve roll) on a campfire fork (or a stick! whatever you’d use to toast a marshmallow!) and then you toast it in the campfire. Meanwhile, melt some butter in a small vessel (Kate uses a small aluminum loaf pan) and fill another small vessel with cinnamon sugar. Once your roll is toasted, roll it in the melted butter (don’t be shy) and then roll it in the cinnamon sugar (continue to not be shy). That’s it. It’s perfect. I dream of these. It’s like a cinnamon sugar donut, but somehow better?! I think it’s the campfire. And the camaraderie. Amanda has some great honeybear footage in her IG reel if you want to see these in action (you do, trust me, you do).
COOKING EQUIPMENT:
Here are some things I am so glad I brought with me:
A roll of tin foil
A bunch of Ziplocs (very useful for leftovers and for keeping things in the cooler so they take up less space / don’t get soggy)
A roll of paper towels
A few kitchen towels because not everything requires a paper towel
A single burner camp stove. I recently bought the one pictured below (it’s this Eureka one). It’s so easy to use. I even used it in my Sunday afternoon cooking class when I got home and it was AWESOME to not have to carry my phone from where I teach in my kitchen over to my stove to show everyone what I was cooking. It uses butane fuel, which you can buy at most grocery stores / big box stores / gas stations /etc.
A 2-quart aluminum pitcher that I use to heat/pour hot water. It’s cheap, lightweight (way more so than a tea kettle) + easier to pour out of than a pot!
Some simple kitchen tools including a bottle/can opener, a few big cooking spoons for stirring + serving, a small cutting board + a sharp knife (I love the one OXO recently gave me from their Outdoor Collection— thanks OXO!!— especially because the knife comes with a protective sleeve so I’m not worried about the exposed blade when I pack it up). All of OXO’s outdoor utensils are great— durable and very heat resistant.
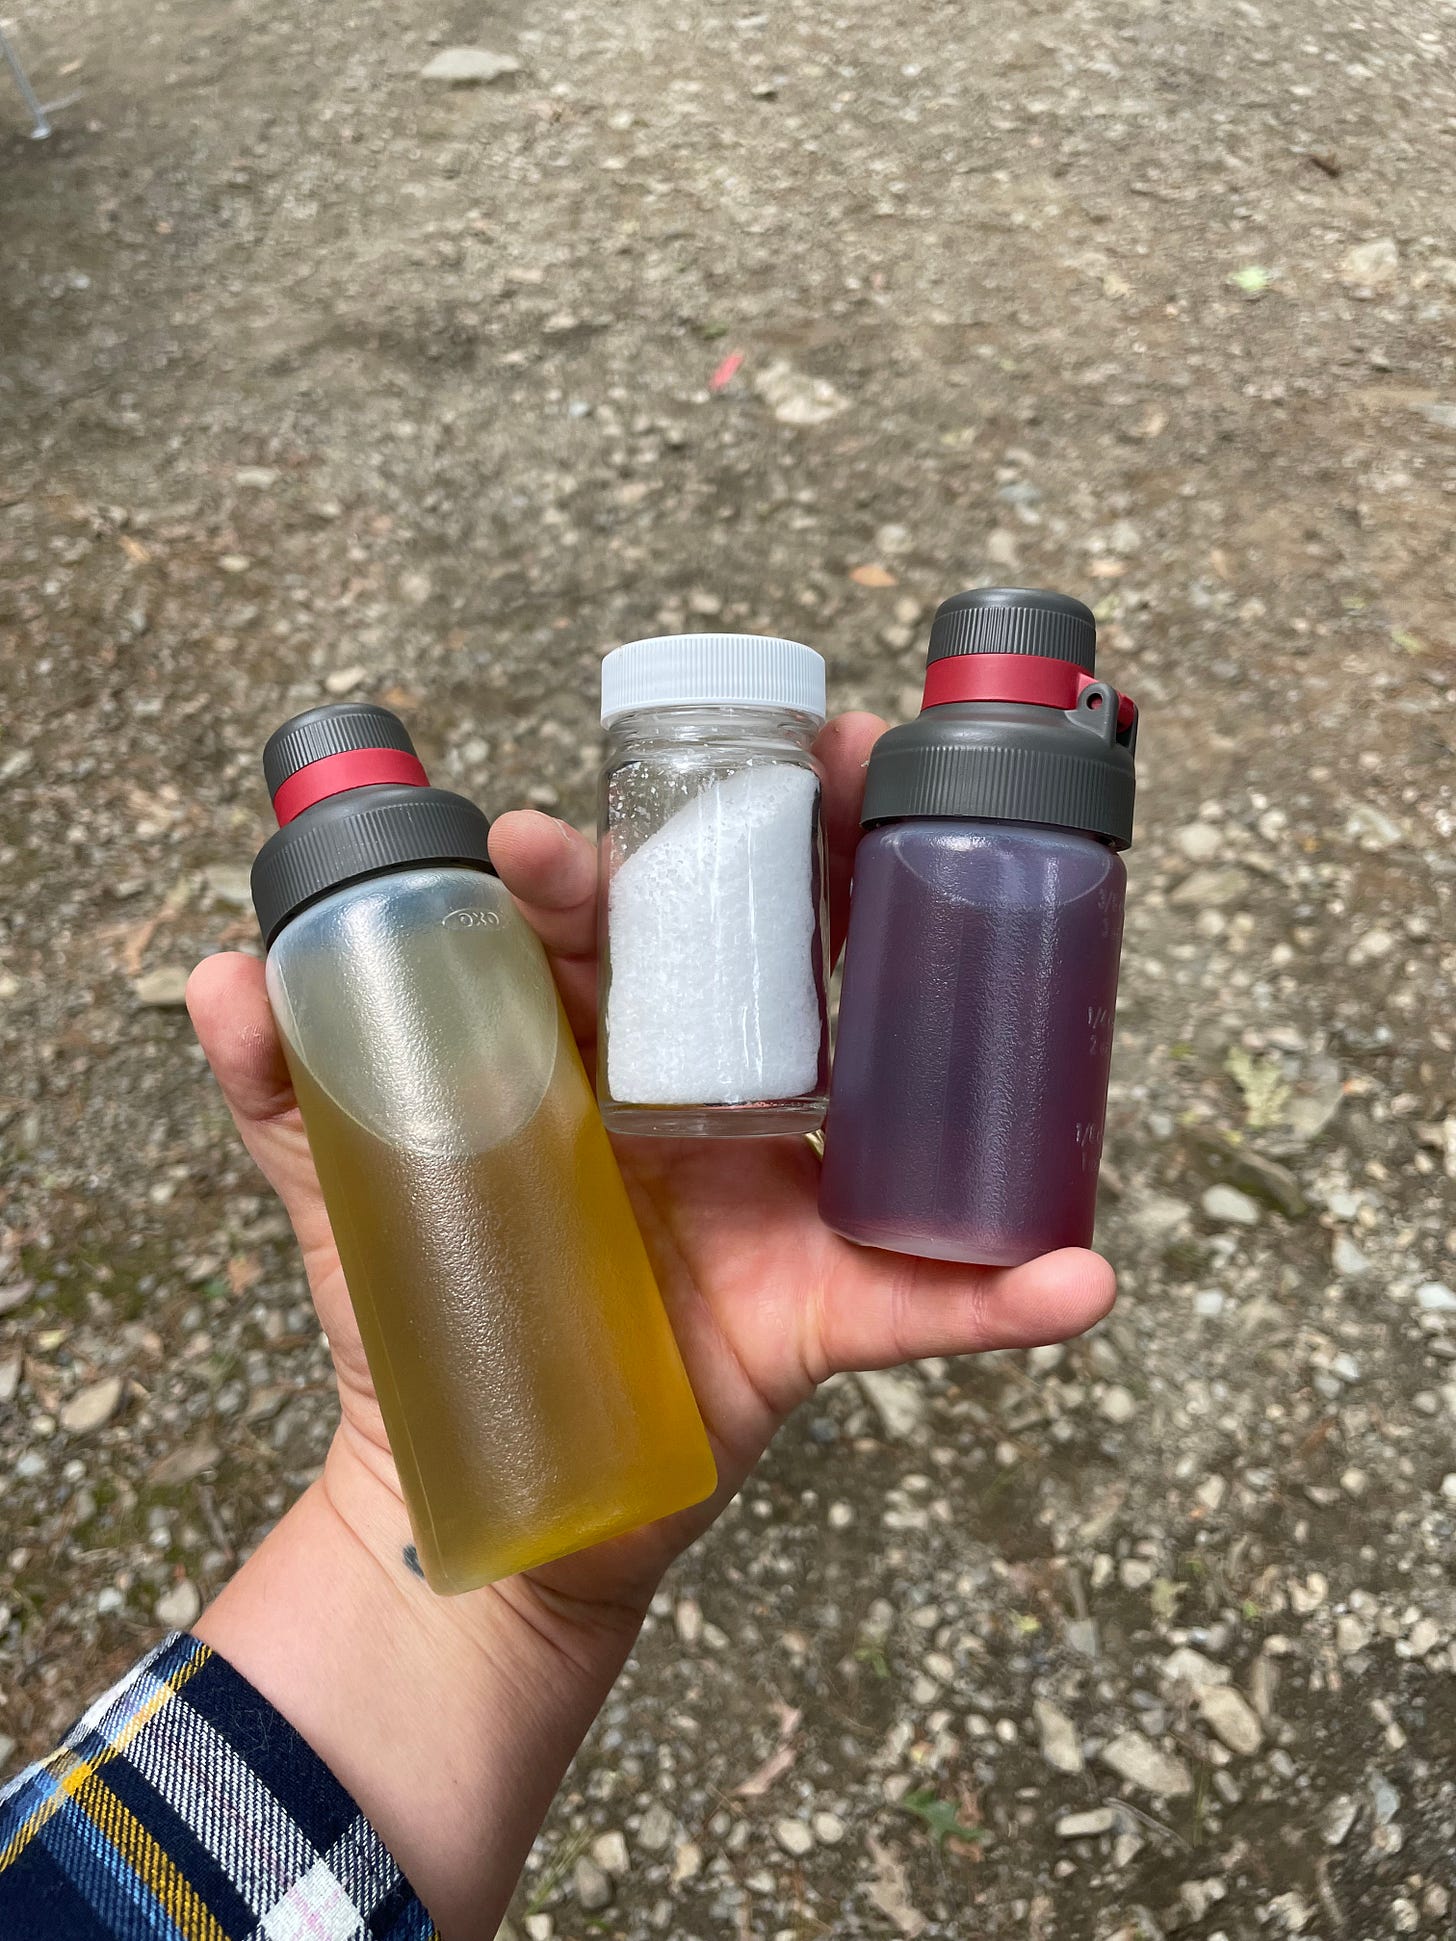
Olive oil, vinegar + salt. I used all three of these for various purposes. I put kosher salt in a little glass jar I have. And the olive oil + vinegar went into these leakproof squeeze bottles (also from OXO) that are AWESOME because it’s impossible for them to spill when you have the top on and you don’t have to worry about glass containers breaking. Love ‘em!
Before I go! Just wanted to share that my class this weekend— Sunday October 9th— is all about the Instant Pot (or whatever electric pressure cooker you might have). Check it out here!!!
Here’s the class description in slightly bigger text:
Have an Instant Pot (or another multi-cooker or pressure cooker) and want some SUPER EASY, VERY FAST recipes to make in it? Interested in one but not sure how it works? Join me for this informative class where I’ll walk you through how to use the Instant Pot and share three of my favorite fast recipes to make in it: Easiest Ever Pasta Bolognese (no need to boil or drain your pasta! No splattered stove!) / Cheesy Chicken + Rice with Lots of Vegetables (the best one pot meal ever, in no time at all!) / Three Sisters Stew with Pecan Relish (a completely vegan stew with beans, corn, and squash, plus a rich, crunchy pecan relish to serve with it). I will suggest variations for all of the recipes and will answer all of your questions. [This is NOT sponsored! I am just really enjoying my new-to-me Instant Pot and want to share what I’m learning!] **I WILL TALK THROUGH HOW TO MAKE ALL OF THESE RECIPES WITHOUT AN INSTANT POT**
Sign up right here!!!! Class includes recipes, a grocery list, live instruction (and you can ask me anything) + a recording if you want to revisit the class or if you can’t make it live. If you want to come and the price is a barrier, just let me know and I’ll get you sorted (no explanation needed).
For paid subscribers only, my chicken tinga recipe is below (with instructions for an Instant Pot + just a Dutch oven). I hope you enjoy it!
Take care everyone + enjoy the outdoors if you’re into the outdoors. Nature is for everyone! If you’re the indoor type, that’s cool, too.
xoox, Julia
Keep reading with a 7-day free trial
Subscribe to Keep Calm & Cook On to keep reading this post and get 7 days of free access to the full post archives.


